Modern Honey Network – Detection Through Deception
GUIDE
Deploy Modern Honey Network (MHN)
This tutorial will cover how to install the Modern Honey Network on an AWS instance. Although not widely uses honeypots are extremely useful and essential to the modern network security ecosystem. Companies can have the best perimeter security, antivirus, application, and network security but at some point, a bad actor or internal employee will attempt an attack. Honeypots are the added layer of security that gives you a “digital tripwire” if someone is starting to probe or access sensitive data or areas of your network.
The Modern Honey Network (MHN) is open source and FREE! The honeypots deployed and managed by MHN are open source and FREE!
Step 1 – Initial Server Setup
I am using an Ubuntu 18.04 t2.medium server with 40GB of attached storage on Amazon AWS. This meets the hardware recommendations for a small/medium size deployment. Although I am deploying this server in AWS, this tutorial should work on any platform running Ubuntu 18.04 (or any Debian-based Linux).
Once the Ubuntu instance is ready, login and start doing some updates:
sudo apt-get update & sudo apt-get upgrade -y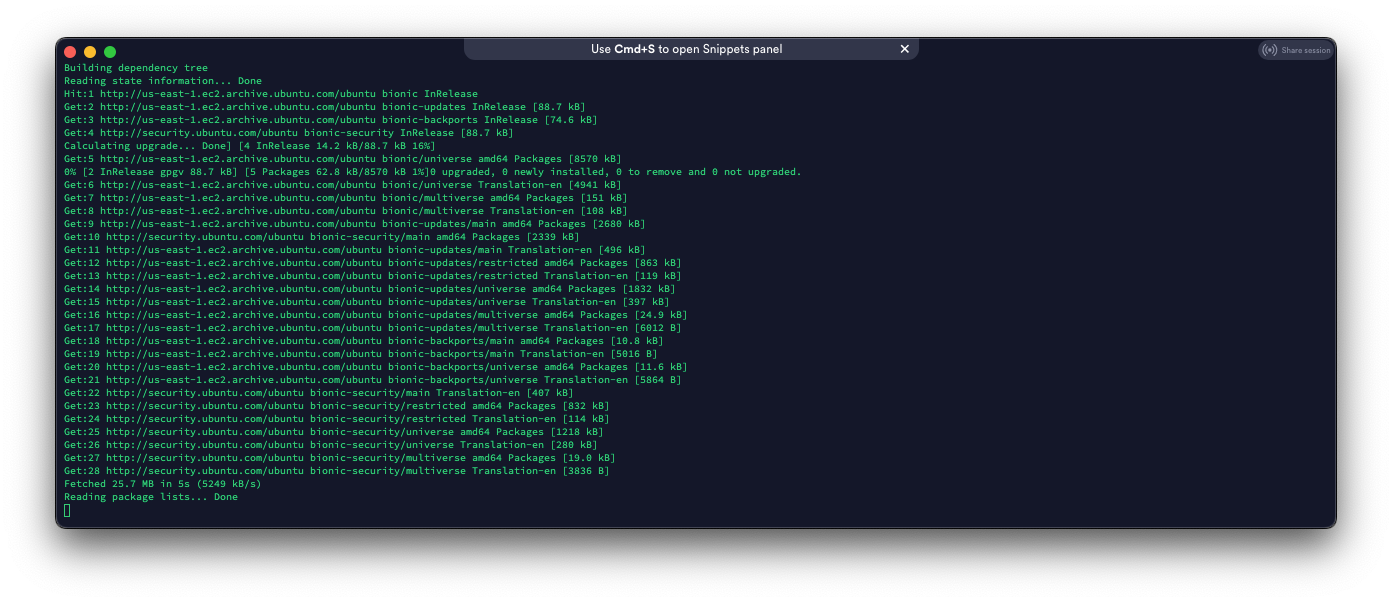
Optional (but highly recommended): Make sure you have a public domain name. This is mandatory if you want to use SSL.
Step 2 – Install git
Since we are pulling Modern Honey Network (MHN) from GitHub, we need to install git.
sudo apt-get install git -y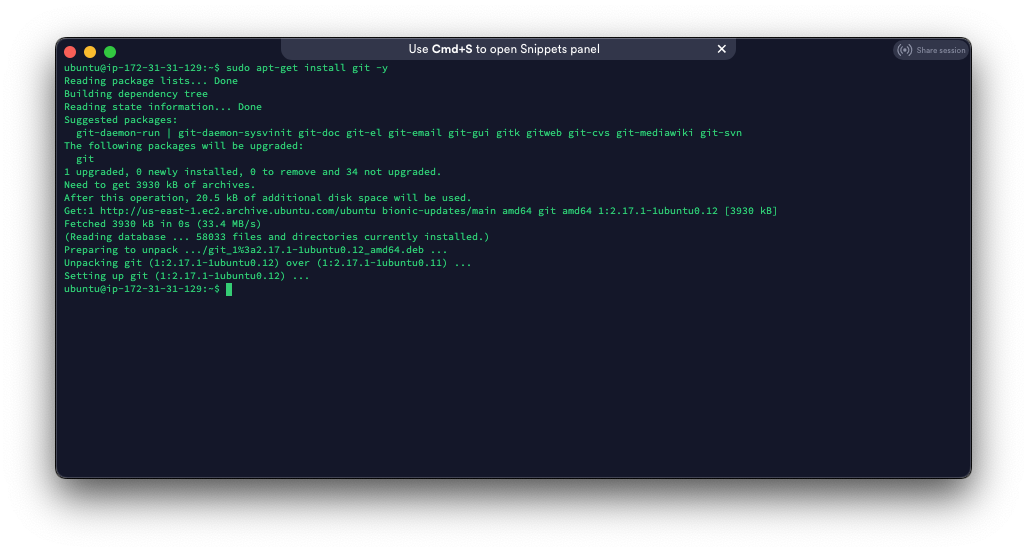
Luckily it looks like git is already installed.
Step 3 – Clone MHN
Now, all we have to do is clone MHN into the /opt directory.
cd /opt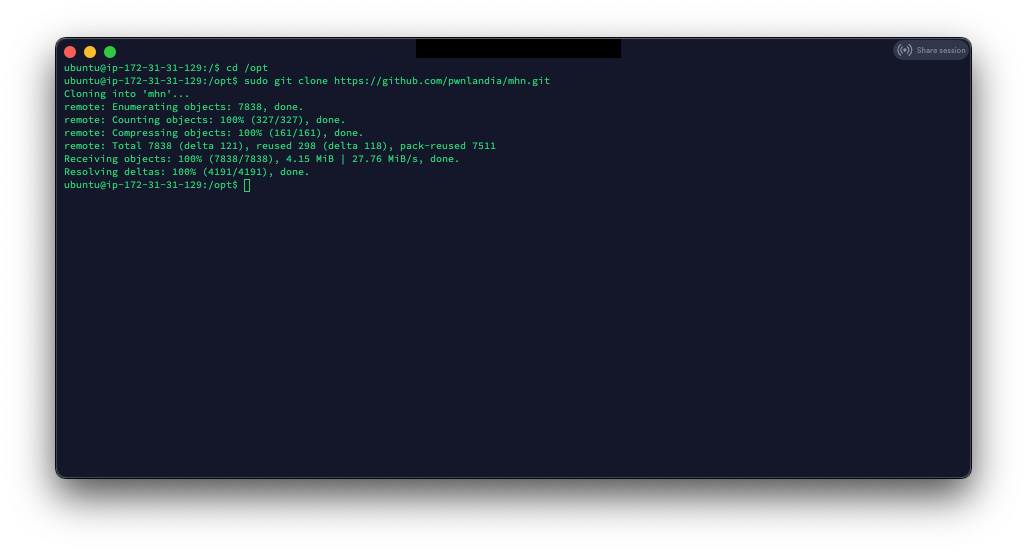
Step 4 – Install MHN
This is where the magic happens! All we have to do is run the setup script, which will install and configure everything for MHN.
cd /opt/mhn/Note: This part will take a little bit to complete
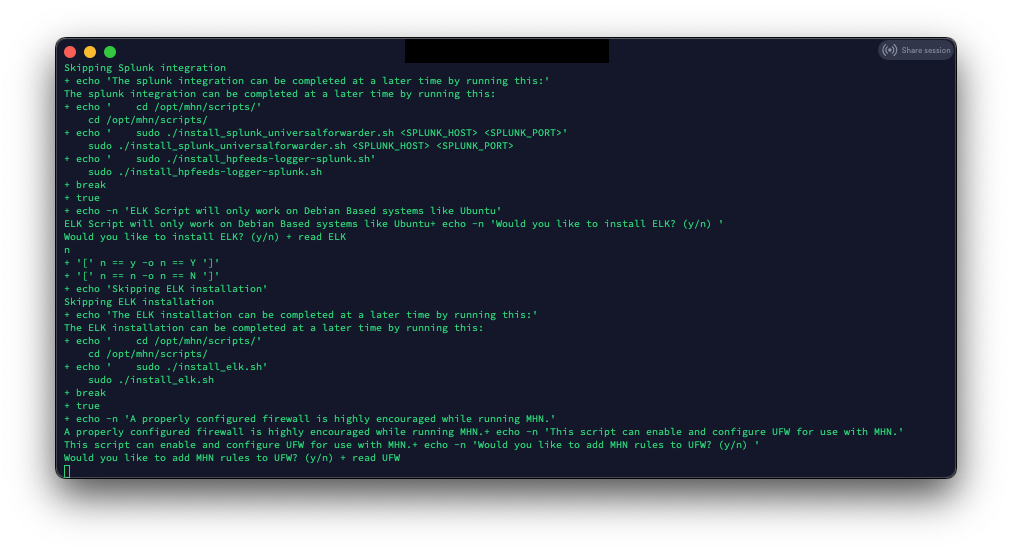
At the end of the script it will ask you a few questions:
Do you wish to run in Debug mode?: y/n nNote: I am using HTTPS in my settings; this is optional but highly recommended. I am not setting my server up to send emails and leaving the default configuration.
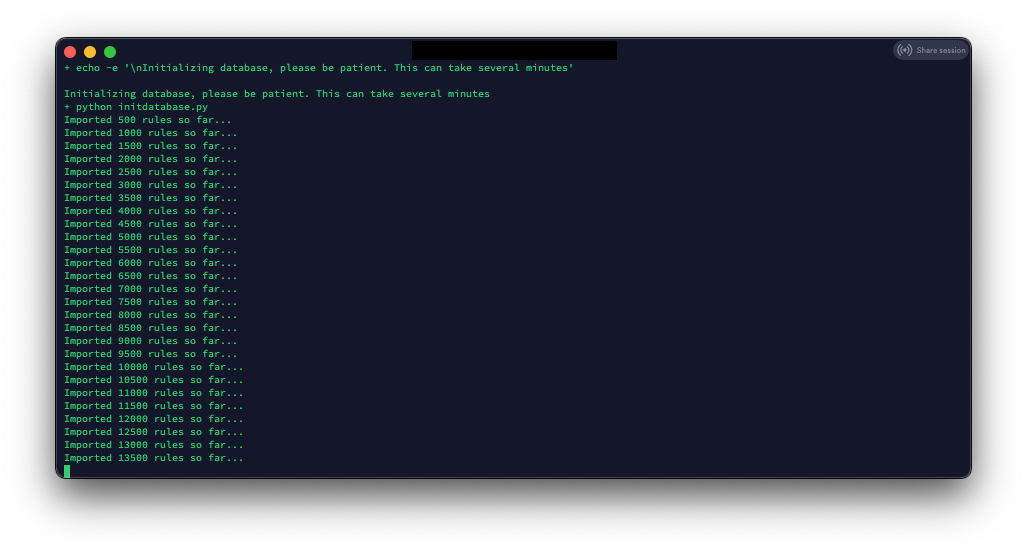
Next, we wait for the database’s initialization and import of SNORT rules. This will take a long time.
After all the rules load, the install will ask if you want to install Graylog, ELK, and add rules to UFW. In this tutorial, I will not be installing Graylog or ELK. I plan to eventually integrate the alerts/logs into a pre-existing ELK server, but that is for another tutorial.
For this tutorial, I am not allowing the MHN install script to enable and configure the server UFW firewall. If you install MHN for a production environment, ensure you secure your server.
Step 5 – Get SSL Certs using Certbot
First, lets install Certbot:
sudo add-apt-repository ppa:certbot/certbotNow we have to edit the default site configuration in NGINX:
sudo nano /etc/nginx/site-available/default
Change the line ‘server_name _;” to your server DNS name ‘server_name mhn.subproject9.com;’
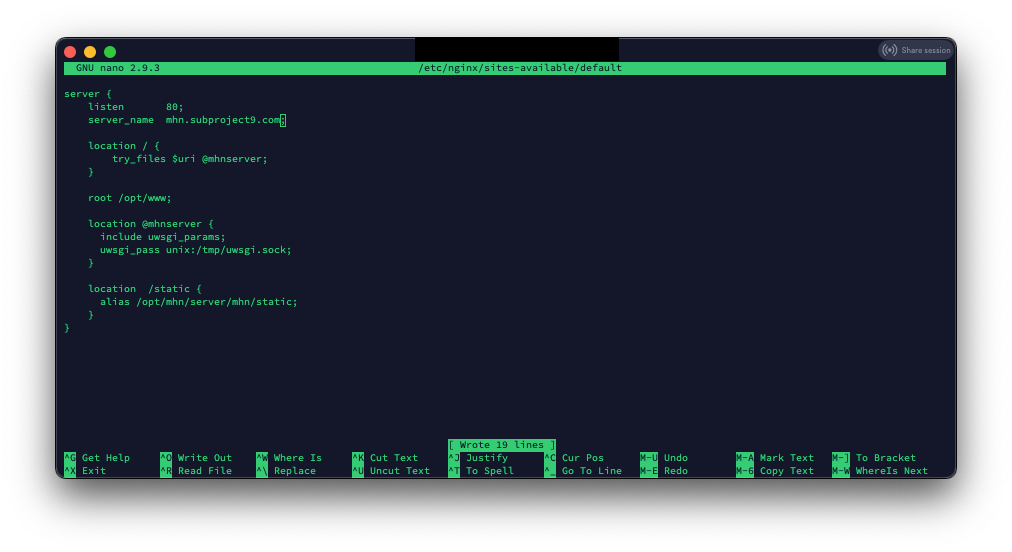
(CTL-O to save, CTL-X to exit)
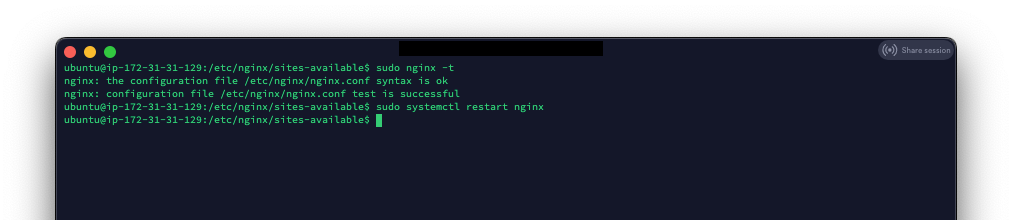
Verify there are no NGINX errors
sudo nginx -t
If there are no errors, restart NGINX
sudo systemctl restart nginx
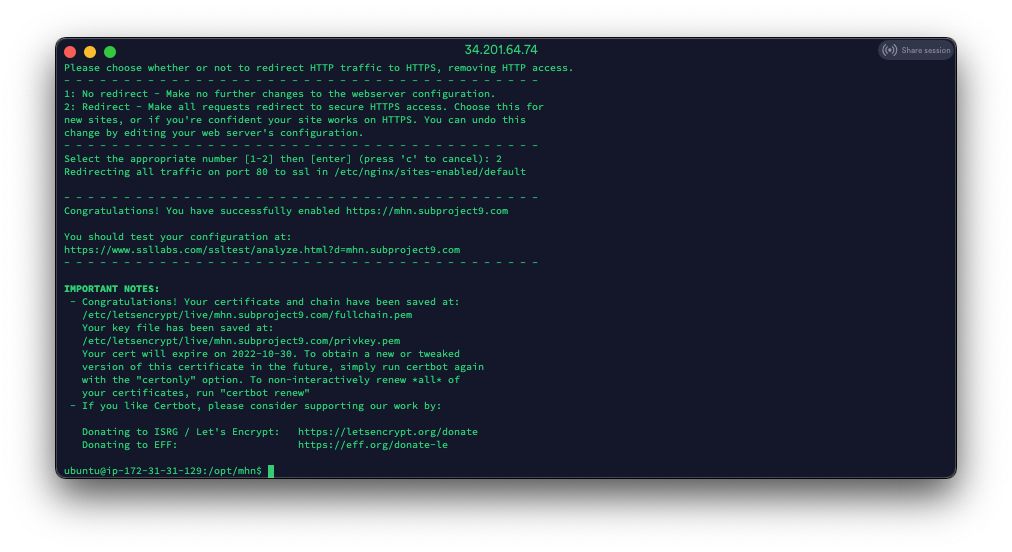
Now let’s get our SSL cert:
sudo certbot --nginx -d mhn.subproject9.comIf everything goes well, you should see something like this:
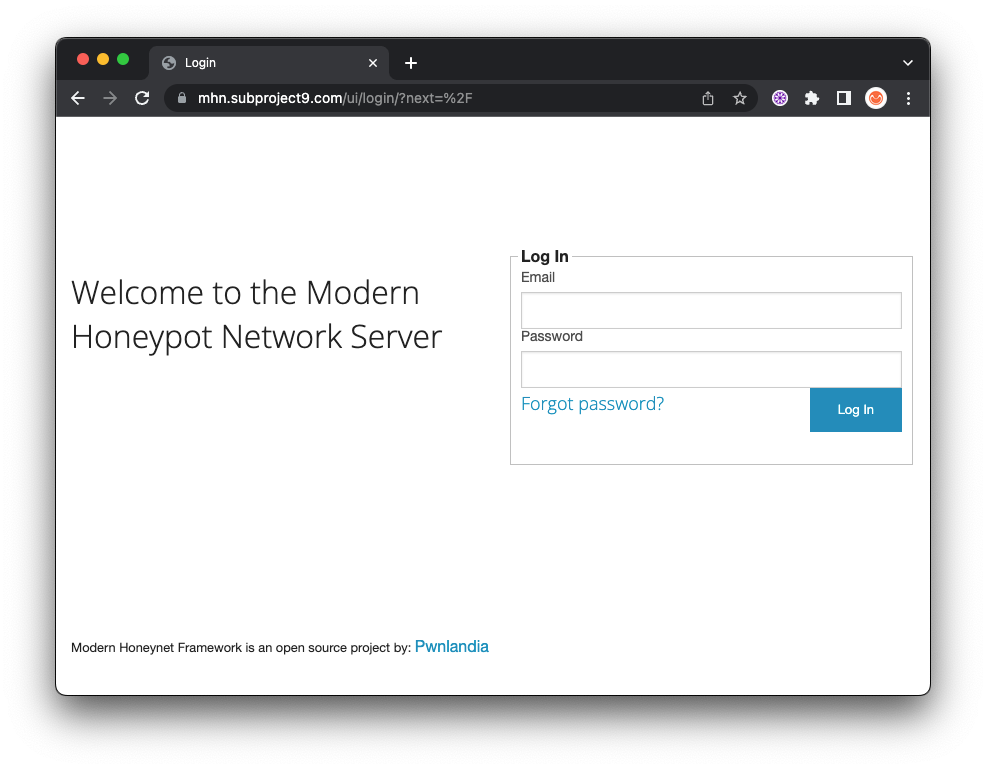
Now, let’s test the interface to make sure everything is working:
Open a browser to your
SUCCESS!
Step 7 – Deploying Honeypots
Deploying honeypots with MHN is extremely easy!
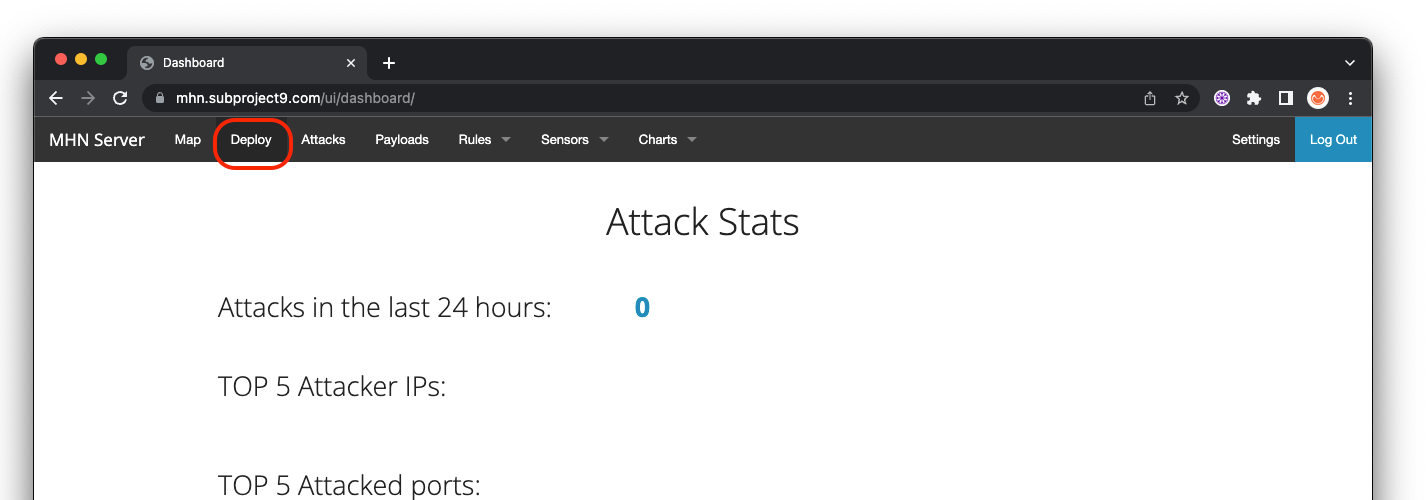
Log into the web interface and select “Deploy” on the top menu:
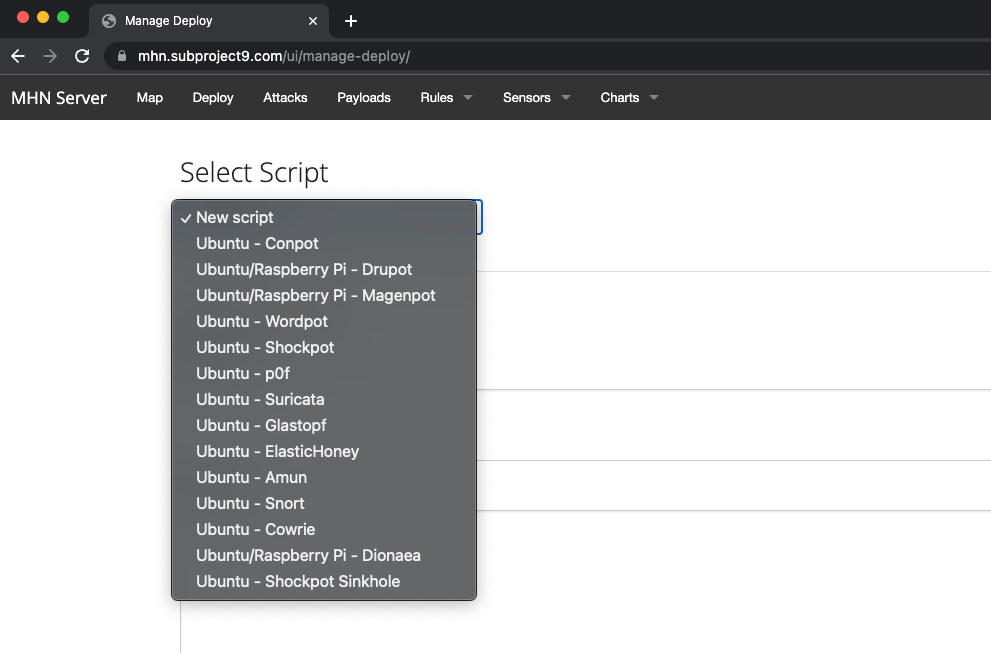
Select the honeypot you would like to deploy:
Now, all you have to do is copy the command and drop it a clean install of Ubuntu, Centos 7 or a Raspberry Pi.
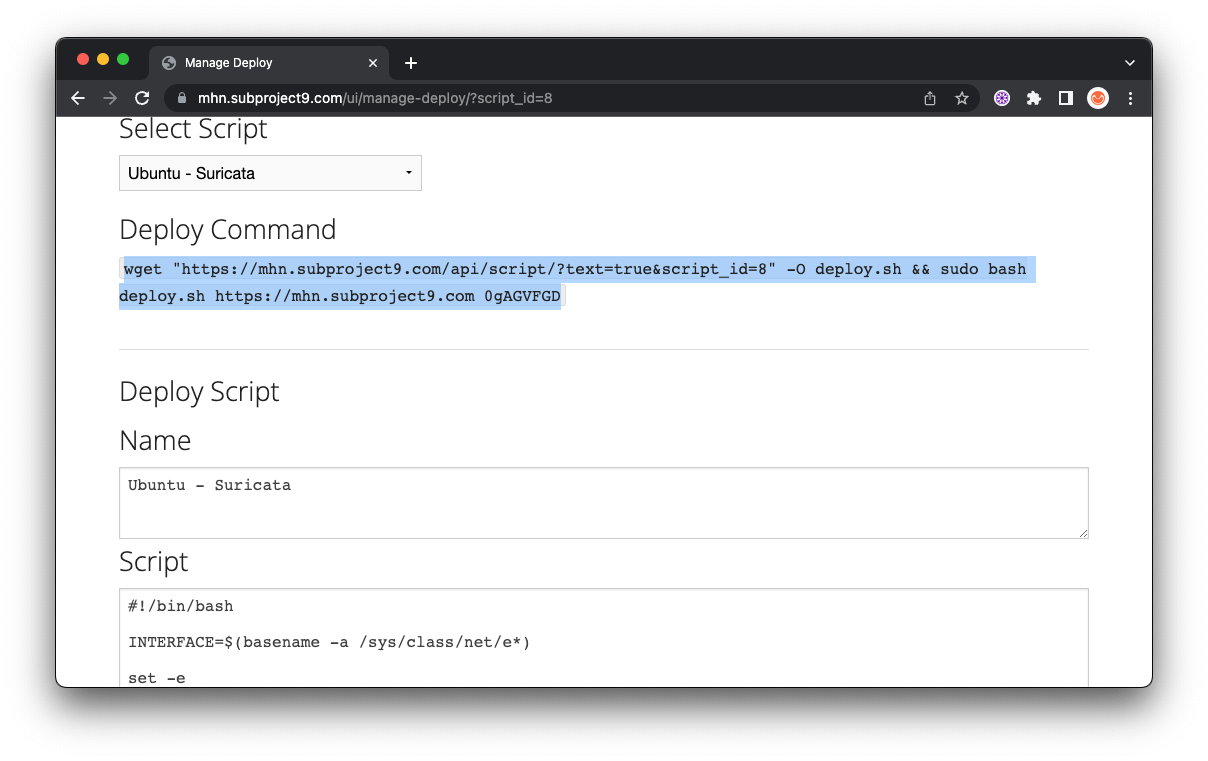
Note: You must install as root and the target server for install must not have any other services deployed.
Book Recommendation
Intrusion Detection Honeypots - Chris Sanders
The book does a great job at covering the different uses of deception as a detection mechanism, from honey services to honey credentials, and gives you food for thought with anecdotes and real-life examples. Some clever ideas made me smile, such as how a standard DHCP server can be used as an unauthorized devices detection mechanism. After these you’ll start getting your own ideas which will help raise the bar of cybersecurity.
- If you think honeypots are not for you, read this book
- If you think your company is not ready for honeypots, read this book
- If you want to effectively and simply detect if adversaries are dwelling in your network (and have fun with it), read this book.
PrevPreviousuBlock Origin – The Essential Browser Plugin NextSocial Engineering Toolkit – 3 Minute Credential CaptureNext